
Oh my! Two weeks have gone by and I am still craving these AMAZING red velvet cake pops. My roommate who made them with me for a bridal shower will testify. They were so good and yet the flavor is so subtle.
I used this delicious Montclair Martha’s Red Velvet Cake from Martha Stewart. It looked so beautiful and was so much fun to bake.
This was the first time that we’ve been asked to make cake pops for a party. It’s like that moment as a kid when you set up a lemonade stand and think, “We could make money with this” but in the end just remember the joy you had.
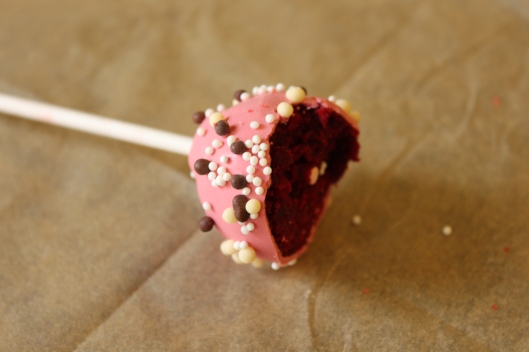
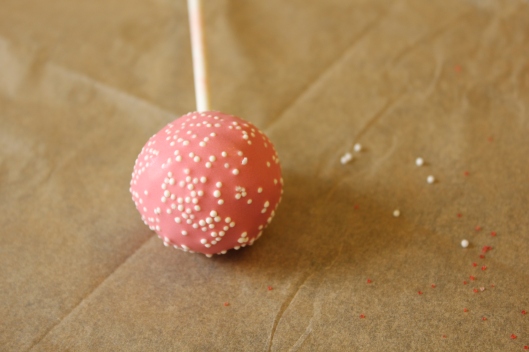
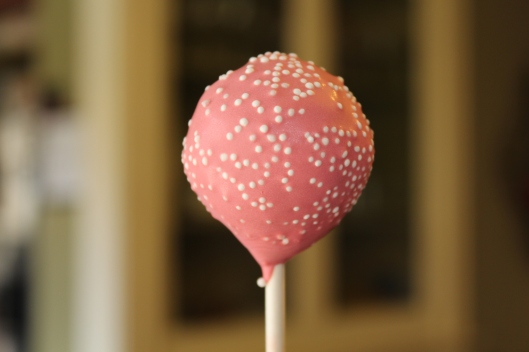
We intended to make the cake pops red to match the wedding colors but we didn’t have enough food die. You can use gel food colors to add color without affecting the consistency, but it takes a lot. If you want the color spot on, purchase the pre-died candy melts. Our cake pops turned out pink, still a great color for a bridal shower in spring.
Here’s some of the biggest things we’ve learned:
- “Make ‘n Mold” Candy Wafers from Alin Pary Supply in Long Beach (and I suppose other large party stores) and the high quality candy melts from specialty cake shops work the best. Wilton’s candy melts do not come out nearly as smooth. Use Almond Bark as your last resort.
- Purchase small disposable plastic containers that are deep enough to get the entire cake pop in but not too wide. I bought 16 oz containers with a lid. Super handy for storing left over candy melts.
- When hardening the pops in the freezer, let them almost come back to room temperature before using. If you dip the pops too early, the condensation and expansion (can you tell that I’m an engineer?) of the pops will cause the coating to crack. Murphy’s law (or something) will act against you. This time around we were successful to have no pops crack.
And here’s our cake pop process. All of our techniques we learned from Bakerella and by trial and error. I took a few photos of the process and will include more in the future for visual learners.
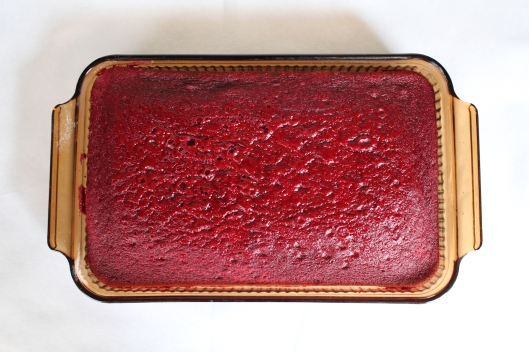
- Make the cake as a large sheet cake and let it cool completely.
- Make half the amount of frosting from your chosen recipe (purchase enough ingredients for a full just in case). You will rarely use all the frosting.
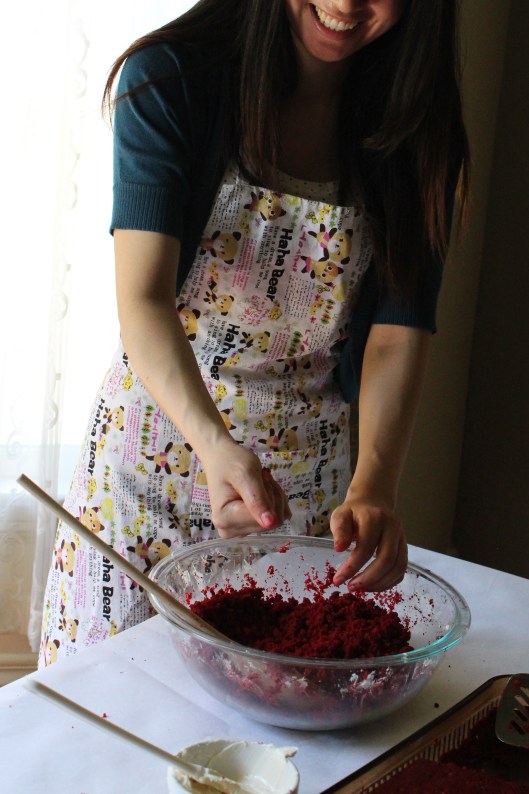
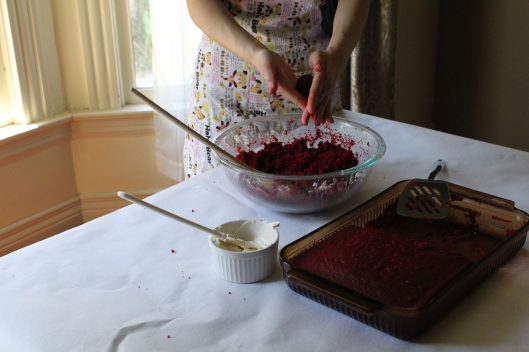
- Transfer half the cake to a large pyrex bowl and completely crumble the cake with your fingers. This is the funnest part!
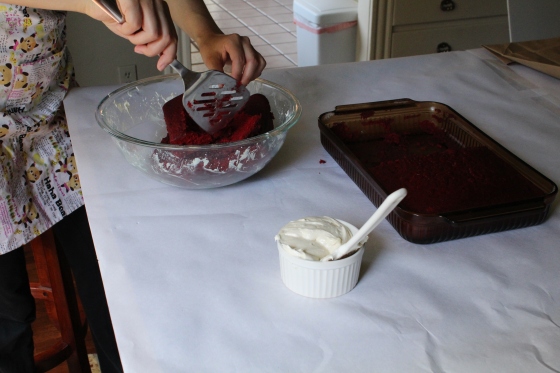
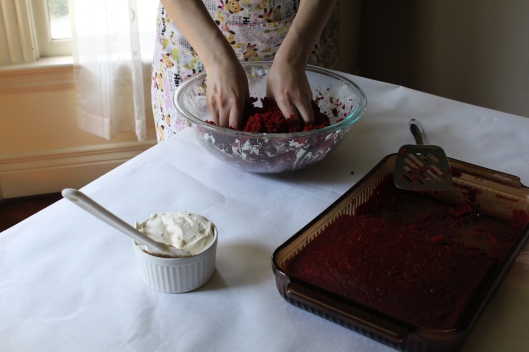
- Add the frosting sparingly until the “cake” is moist but not soggy. It is better to error on the side of less frosting to just hold the cake together. The candy melts will do their job!

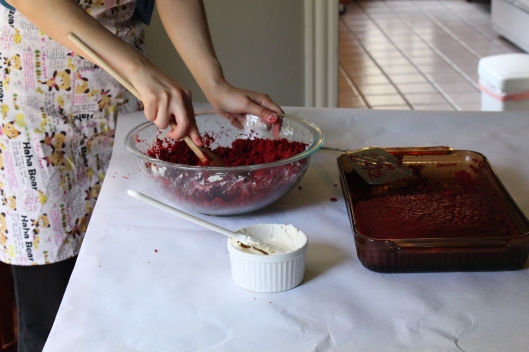
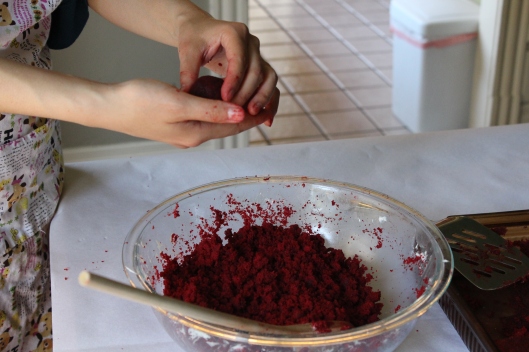
- Form the cake into quarter size balls and transfer to a cookie sheet lined with parchment paper: Gather enough cake loosely for the “quarter” and then squeeze with your fist.
- Form the cake into a ball by rolling in your fingers.
- Transfer the cake balls to the freezer for about 10 minutes. You can make the cake balls all at once or as you make the cake pops. Remove the cake balls from the freezer and let them come almost back to room temperature, until just chilled.
- Line two cookie sheets with parchment paper. Gather your Popsicle sticks (the long skinny ones are the best), candy melts, and plastic container. Melt a small amount of candy melts (you can add the dye if desired), just enough to dip the sticks.
- Melt the candy melts in 30 second increments (at 70-80% heat) and stir until smooth but not overheated.
- Dip the stick in the melted candy about 1/2 inch and tap off the excess. Insert the stick in the prepared cake ball about halfway. Transfer to the cookie sheet, laying down. This step is crucial to keep the cake pops on the stick.
- When your cookie sheet is full, transfer to the freezer for another 10 minutes to harden.
- Gather your candy melts, stand, dye, sprinkles, edible pens, decorating supplies, plastic goody bags, and plastic containers.
- Remove the a cookie sheet of cake balls with sticks from the freezer. Let them come almost to room temperature, until just chilled.
- Prepare a Styrofoam block, cake pop stand (these are awesome), or short glasses (at the very least) to dry the pops. You can hold them until they dry and then lay down, but it will take much longer.
- Melt enough candy melts to dip the cake pops. It works best if you can dip them upside down. Add the dye if desired.
- Dip a cake pop into the plastic container of melted candy and twist to coat if needed. Remove from the candy and gently tap away the excess. This post from Bakerella is pretty helpful.
- Before the candy melts, add your sprinkles. If you are having trouble with the sticks or are low on time, you can make cake balls instead.
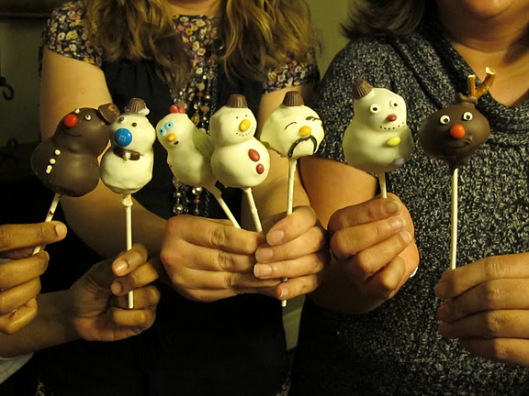
- Allow the cake pops to dry completely and then you can decorate them. 🙂

Don’t bite off more than you can chew and have fun!

Thanks Roomie for being my hand model. Hehe. We’ve come so far! Remember our first set of cake pops? The snow men, raindeer, chicken, and old man?


Can you tell me how many cake pops you were able to make with this? Thanks!
I think we made nearly 50.
Thank you! That helps me out a lot! I’m going to make these for a wedding!
I’m glad to hear. Best of luck! I was having a craving for them just last week.
Thank you! I have one more question for you though. I did them and I used Belgian white chocolate from my local bulk food store and the coating was thick. I wasn’t clear from your post if you used white chocolate or merkins candy melts.
Sorry it’s been so long. I haven’t blogged in a while. I used candy melts for the coating. A friend used white chocolate chips for a party and I thought it was much more difficult. We had to refrigerate the cake pops right away when using white chocolate.
Sorry to get to you so late! I haven’t been on much. How did they turn out?
I used candy melts. Candy melts work much better than white chocolate, but not all candy melts are the same. I don’t like Wilton, which are the most common. I would check a party supply store, online, or a local cake supply shop.
Pingback: Nikky’s Red Velvet Cake: a 4 year old’s birthday party | one domestic goddess
Pingback: 2013 year in review: favorite posts | One Domestic Goddess