
I don’t know how best to start this post. I was just a little ambitious this year in my holiday cake pop production. I am not a person that can very easily limit myself (both a good and bad trait). When I do something, I tend to go all out. In school I couldn’t get just any degree, so I earned a degree in Architectural Engineering. Often when I clean, I end up cleaning the entire fridge, cupboard etc. I couldn’t just make one or two cake pop characters, but I had to make eleven (I had help from my former roommate). I know it’s crazy, but Christmas only comes once a year and I wanted to make it big!
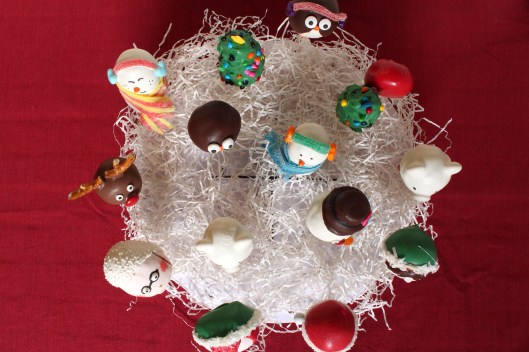
Since we are all busy this time of year and have many demands on our time, I will just share the cute show-off photos (because don’t all cake pops show off?) and give the instructions and original sites for some of the pops. If you are interested, I will share tomorrow a gifting idea for the cake pops and then share the cake pop process and my experiences.
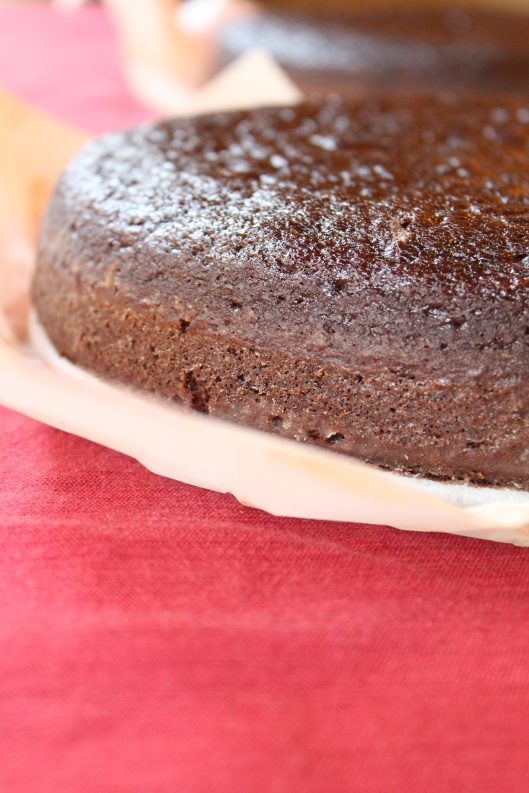
For the cake, I made this Chocolate Stout Cake, using 3/4 of the recipe. I know, the math isn’t fun! The cake was very easy to make, doesn’t require a mixer, and is super moist. For the frosting, I made half of this Dark Chocolate Ganache frosting. I have a tendency to make the balls too cakie, but this time I found that the texture of clay worked very well. Look here if you need a basic cake pop review.
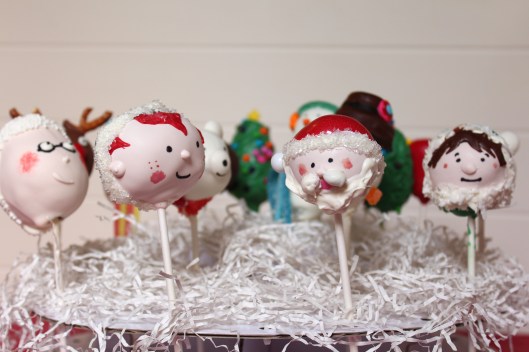
Let’s Show Off!

Instructions and Cake Pop Sites
First the sites:
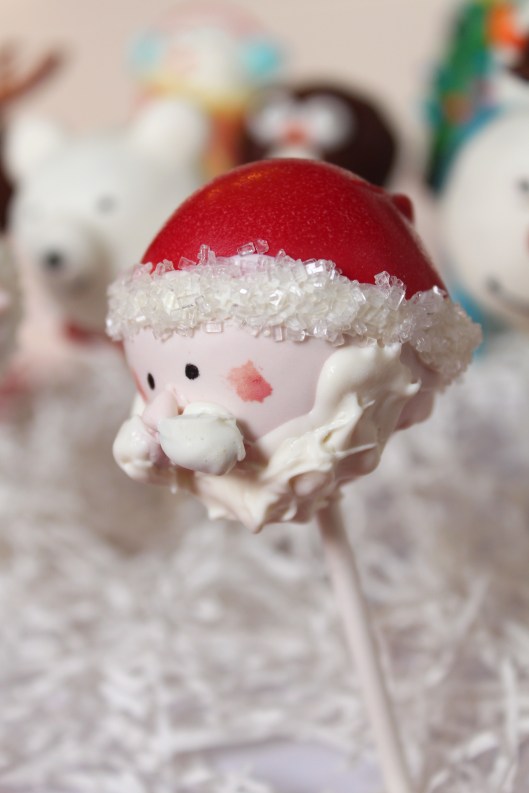
- Bakerella Santa Clause
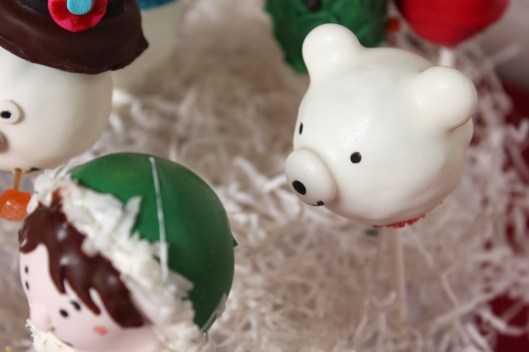
- Bakerella Polar Bears, these are my favorites!
- Bakerella Frosty the Snowman
- Bakerella Reindeer & Rudolph
- Bakerella Christmas Trees
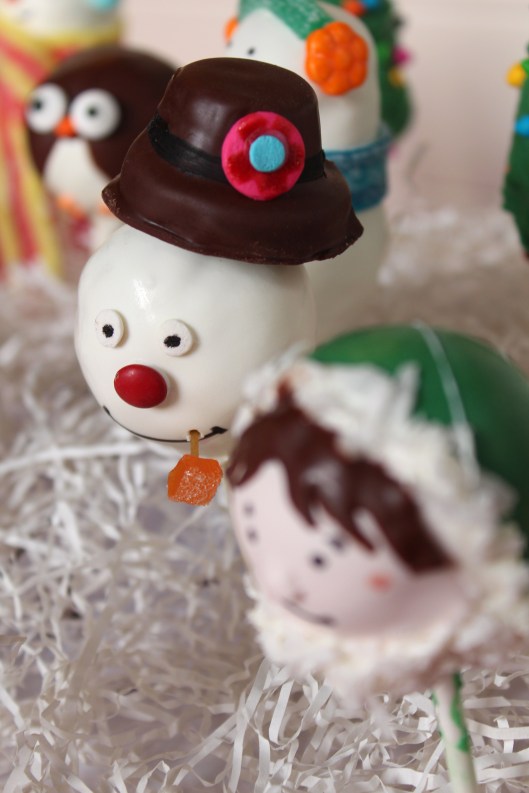
- Niner bakes Cute Snowmen, inspired by Bakerella
For the instructions:
- Eskimo People, slightly adapted
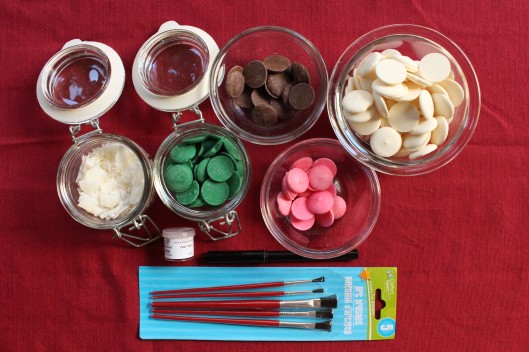
Supplies
- Round cake balls
- White vanilla candy wafers
- Pink vanilla candy wafers
- Brown Chocolate candy wafers (or brown food gel)
- Green vanilla candy wafers
- Brown Chocolate or Dark Chocolate candy wafers (for hair)
- Shredded coconut
- Black edible pen
- Pink Petal dust or pink edible pen
- Paintbrushes solely for food
- Lollipop sticks
- Deep microwave safe plastic bowls
- Toothpicks
- Styrofoam block or cake pop decorating stand
Instructions
- Prepare the round cake balls and chill in the refrigerator for two hours.
- Melt the white candy wafers (about 6 ounces) 3 in deep for easy dipping in a microwave safe plastic bowl, according to package instructions. Tint with pink (2 wafers) and chocolate (1 wafer), or brown gel to achieve the desired skin tone.
- Remove a few cake balls from the refrigerator and one at a time dip a lollipop stick into the melted coating about ½ in deep, tapping off access, and insert the dipped end into the bottom of the cake ball about half way, until all the cake pops are prepared.
- Return the cake pops to the refrigerator for about 10 min.
- Meanwhile, add more candy wafers (and color) as needed to completely immerse the cake pops. Dip the cake pop completely into the melted coating and gently tap off the access until the candy no longer drips. Remove to a stand and cool completely.
- Melt the green candy wafers about 3 in deep for easy dipping. It may be easier to use a round bowl to get the desired angle. Dip the cake pop into the green candy coating at an angle to make the coat, using a toothpick as needed to cover the chin area. Remove to a stand and cool completely.
- Meanwhile melt a small amount of brown or black candy wafers in a microwave safe bowl. Using a toothpick, draw the outline of the bangs or hair. Fill in the area with more melted coating and add texture if desired with the toothpick. Remove to a stand and cool completely.
- Melt a small amount of white candy wafers (no color) for the coat.
- With a toothpick, coat the fur area around the face (approximately 1/4″ thick) with white candy coating one side at time and quickly add shredded coconut. Remove to a stand and cool completely.
- Reheat the skin tone candy coating. With a clean toothpick, apply a small dot of the candy coating to form a nose.
- Using a black edible ink pen, draw on the eyes and the mouth. Mix about 1/8 tsp vanilla extract and a pinch of the pink petal dust in a small dish until the desired color is achieved. With a clean paintbrush reserved for food use, add the cheek color with the pink petal dust (or pink edible pen).
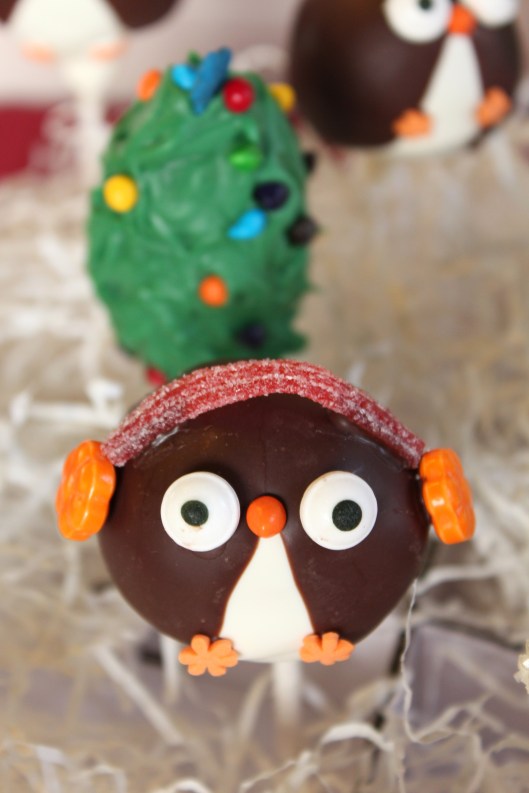
- Penguins, inspired from this site
Supplies
- Round cake balls
- White vanilla candy wafers
- Dark Chocolate candy wafers
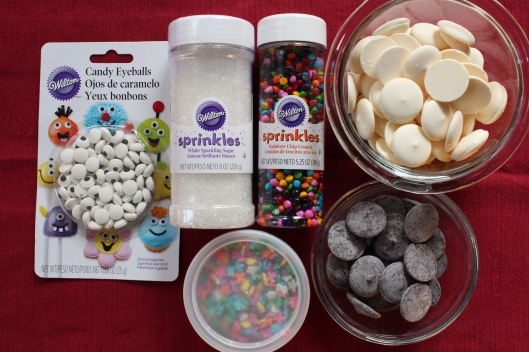
- Wilton Candy eyeballs
- Small orange flower confetti sprinkles
- Rainbow chip sprinkles
- Large flower candies from a candy store
- Sour straws or licorice
- Lollipop sticks
- Deep microwave safe plastic bowls
- Toothpicks
- Styrofoam block or cake pop decorating stand
Instructions
- Prepare the round cake balls and chill in the refrigerator for two hours.
- Melt the white candy wafers (about 6 ounces) 3 in deep for easy dipping in a microwave safe plastic bowl, according to package instructions.
- Remove a few cake balls from the refrigerator and one at a time dip a lollipop stick into the melted coating about ½ in deep, tapping off access, and insert the dipped end into the bottom of the cake ball about half way, until all the cake pops are prepared.
- Return the cake pops to the refrigerator for about 10 min.
- Meanwhile, add more white candy wafers as needed to completely immerse the cake pops. Dip the cake pop completely into the melted coating and gently tap off the access until the candy no longer drips. Remove to a stand and cool completely.
- Melt the dark chocolate wafers about 3 in deep for easy dipping. It may be easier to use a round bowl to get the desired angle. Dip the cake pop into the dark chocolate coating at an angle on either side to make each wing. Tilt the pop towards the penguins back while the coating is drying to form a tail. Remove to a stand and cool completely.
- Reheat the dark chocolate coating as needed to apply the eyes, beak, and feet. Where the wings form, with a toothpick apply a small dot of the dark chocolate coating and add a orange rainbow chip for the beak. Do the same for the eyes and add the candy eyeballs. Apply a small dot of the dark chocolate coating and add orange flower confetti to make the feet.
- To make the earmuffs, with a toothpick apply a small dot of the dark chocolate coating at each ear and add the flower candies. Cut the sour straws or licorice into the desired length and thickness. Using the toothpick, apply a small line of dark chocolate coating between the ears and finish the earmuffs.
The remaining cake pops (excluding Mrs. Clause which I tried based off this site but I need to try again) are from Cake Pops Holidays by Bakerella. It may just inspire you go go crazier than I did!


Pingback: Cake Pop Holiday Gift Idea | One Domestic Goddess
Pingback: Cake Pop Process and Troubleshooting | One Domestic Goddess
Pingback: 2013 year in review: favorite posts | One Domestic Goddess